[blog] 깃허브 블로그 구글검색 노출시키기
google search console 들어가기 — ※eona1301님의 블로그를 참고하여 작성합니다.
이 곳을 들어간 후 시작을 누릅시다.
그러면 이 화면으로 바뀝니다.
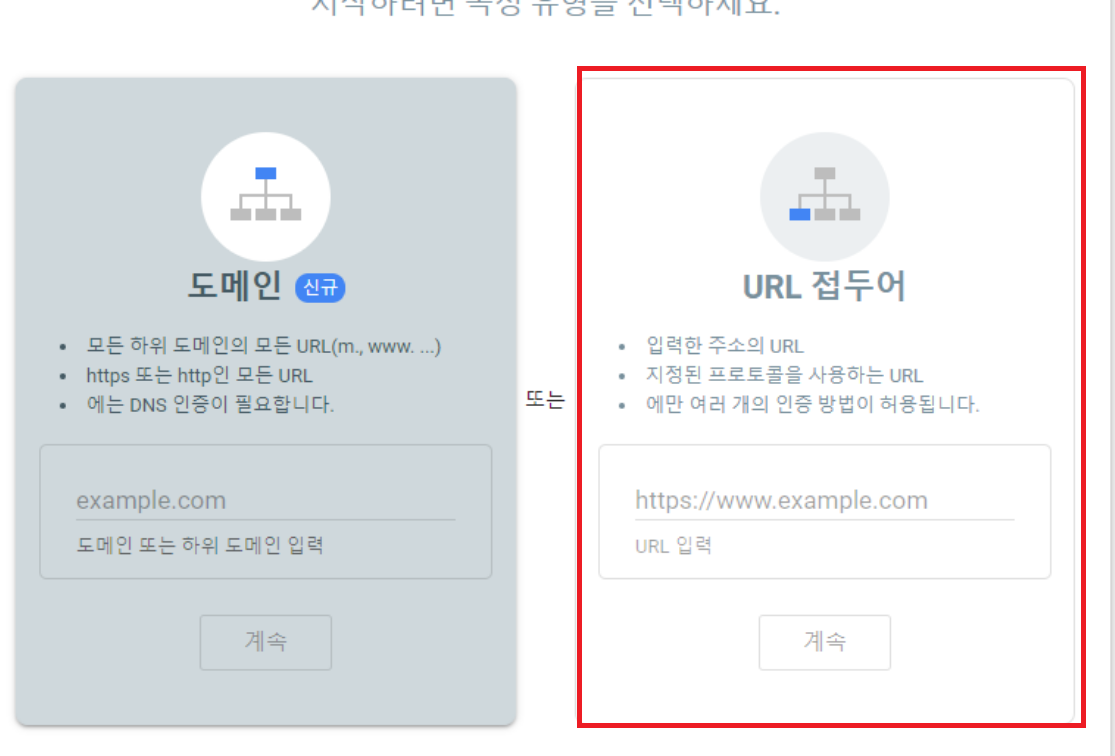
이제 여기 주소를 입력해주시면 됩니다. 저의 경우는
https://joonhwan2.github.io
그리고 계속을 누르면
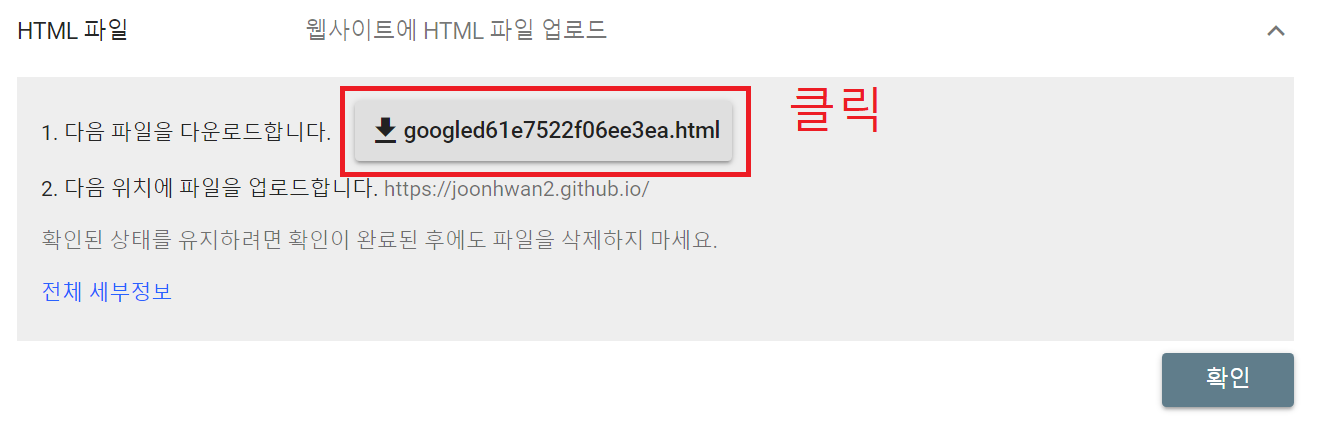
저거 클릭해서 깃허브 블로그 폴더와 같은 경로에 저장합시다
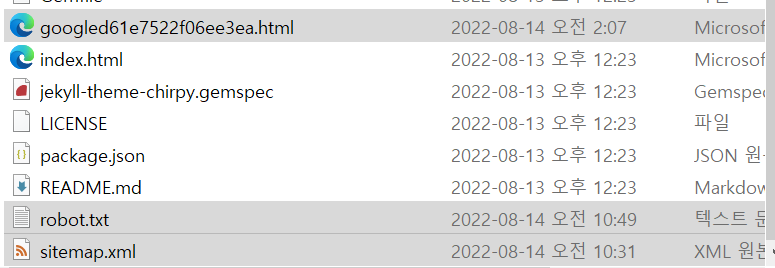
이제 sitemap.xml을 열면
1
2
3
4
5
6
7
8
9
10
11
12
13
14
15
16
17
18
<?xml version="1.0" encoding="UTF-8"?>
<urlset xmlns:xsi="http://www.w3.org/2001/XMLSchema-instance" xsi:schemaLocation="http://www.sitemaps.org/schemas/sitemap/0.9 http://www.sitemaps.org/schemas/sitemap/0.9/sitemap.xsd" xmlns="http://www.sitemaps.org/schemas/sitemap/0.9">
<url>
<loc>http://localhost:4000/posts/text-and-typography</loc>
<lastmod>2019-08-08T12:33:00+09:00</lastmod>
</url>

<url>
<loc>http://localhost:4000/posts/write-a-new-post</loc>
<lastmod>2019-08-08T15:10:00+09:00</lastmod>
</url>

<url>
<loc>http://localhost:4000/posts/getting-started</loc>
<lastmod>2019-08-09T21:55:00+09:00</lastmod>

~~~~~~
~~~
이런식으로 나오는데 https://localhost:4000 이라고 적힌 부분을 모두 교체해줍니다. 한 20개 조금 넘습니다.
저의 경우는 https://joonhwan2.github.io 로 하였습니다.
이제 robot.txt를 열읍시다.
(robot.txt 역할은 사이트 페이지를 검색 결과에 포함시킬지 여부를 검색 엔진에 알립니다.)
1
2
3
4
User-agent: *
Allow: /

Sitemap: https://joonhwan2.github.io/sitemap.xml
내용이 disallow 라고 되있는 분들도 계실텐데 저처럼 바꿔주시면 됩니다. 밑에 주소적고 꼭 /sitemap.xml도 붙여야합니다 ㅎ
다 되셨다면 이제 git add~push 를 통해 깃허브에 업로드 해주시면 됩니다.
이제 google search console 홈페이지로 돌아와서 왼쪽에 보면 sitemaps 라고 있는데
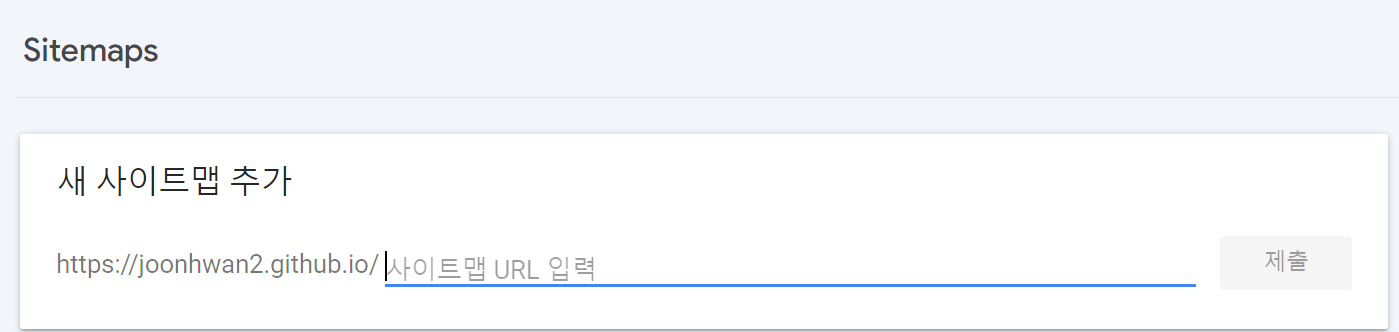
이 곳에서 sitemap.xml 을 입력합니다. 그리고 제출을 합시다
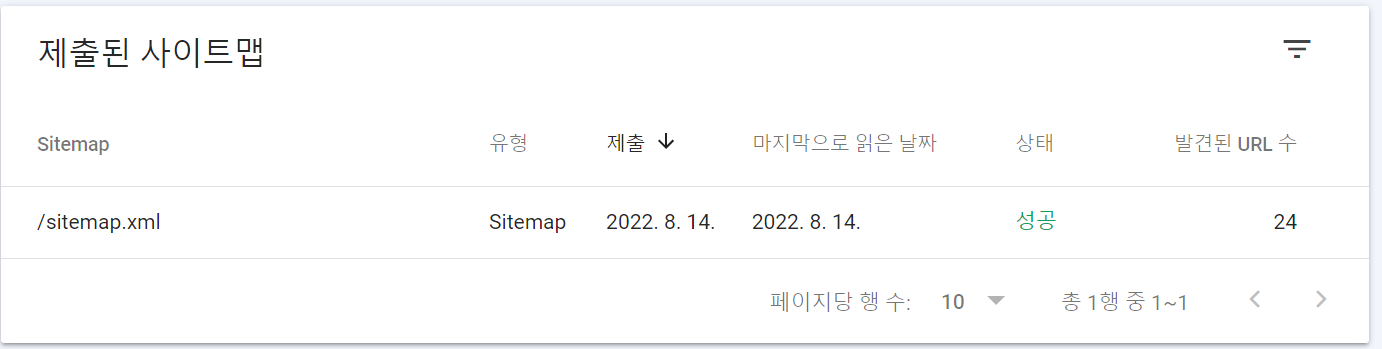
이제 이런 문구가 뜨면 성공입니다. 구글에 반영되는건 짧으면 1~2일 길면 몇일 더 걸린다하니
일단 테스트는 후에 해볼 예정입니다 ㅎ
아래 사진을 클릭하면 제 취미공간으로 이어집니다 ㅎㅎ 여기에서 메모 및 일상을 기록하는데 놀러오실 분들은 언제나 환영합니다!
링크로 이동하려면 사진을 클릭
참고
‘eona1301’ [Github Blog] 검색창 노출시키기